Oct.15,2026
Share
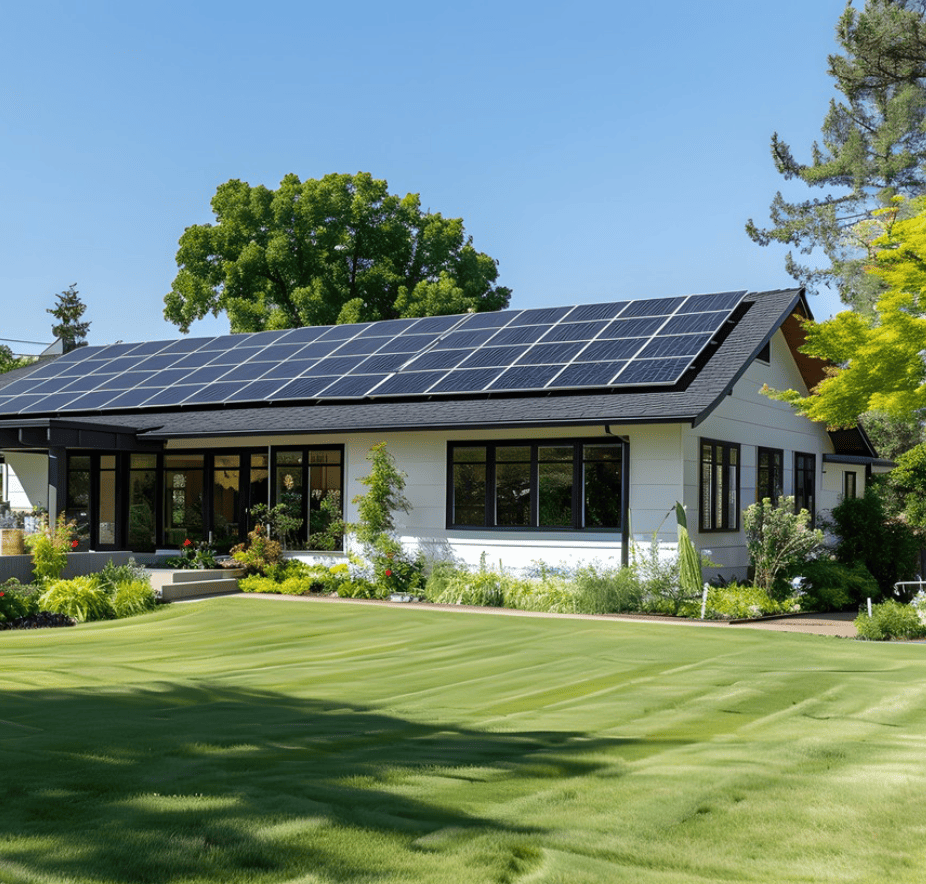
Clamp-based metal roof solar mounting systems offer a solution for installing solar panels without the need for drilling into the roofing material. This method minimizes the risk of creating leaks and damage. Instead, these systems utilize specially designed clamps that securely attach the solar panels to the seams of metal roofs, protecting the integrity of your roofing structure.
Follow this step-by-step guide for a successful installation of clamp-based metal roof solar mounting systems.
Before you begin, ensure you have the following tools on hand:
Carefully measure the area of the metal roof where you want to install the solar panels. Use the measuring tape for accurate measurements.
Position the clamp mounting brackets along the seams of the metal roof, ensuring they are spaced according to the specifications of your solar panels. This is critical for weight distribution and structural integrity.
Using a socket wrench, securely fasten the mounting brackets to the roof seams. Make sure they are tight, but avoid over-torquing which could damage the metal.
Carefully place the solar panels onto the secured brackets, aligning them correctly. Use appropriate screws or bolts to secure the panels in place.
Perform a final inspection to ensure everything is secure and properly aligned. This includes checking the level and ensuring there are no loose parts.
Avoid these common mistakes to ensure the efficiency and longevity of your solar mounting system:
In summary, clamp-based metal roof solar mounting systems are an effective way to install solar panels without the risks associated with drilling. By following the detailed steps outlined above and avoiding common mistakes, you can ensure a successful and efficient installation. Trust Huitai Photovoltaic for all your solar energy needs, as we provide high-quality products that make your solar installation experience seamless. For more information, visit here.
More News
Hot Products
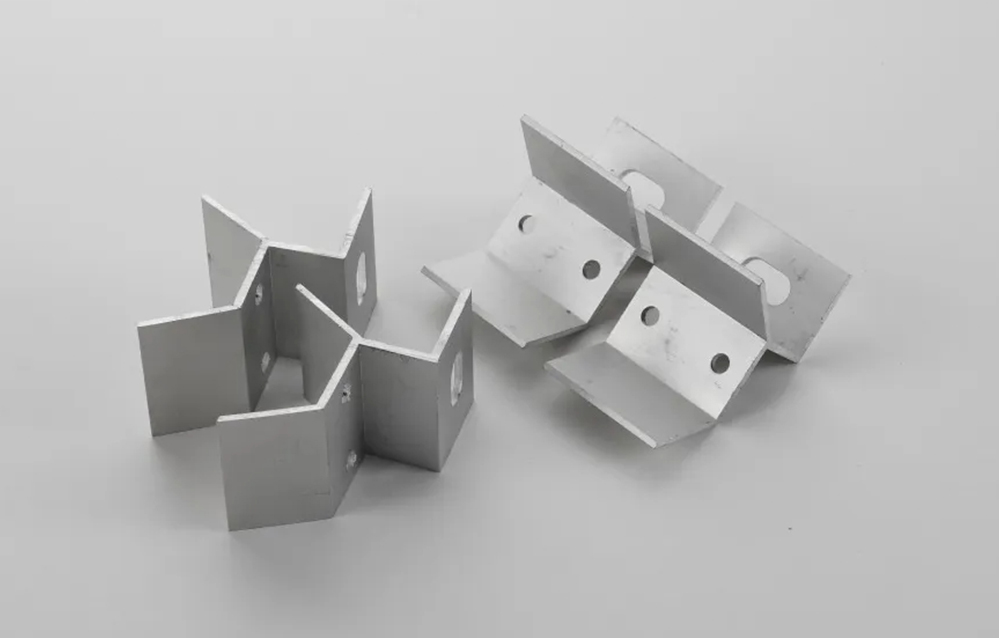
High Quality Metal Fabrication Clamps Solid Integral Stainless Steel Integrated Clamp A
Usage: Heavy Duty Clamp, Pipe Clamp, Glass Clamp
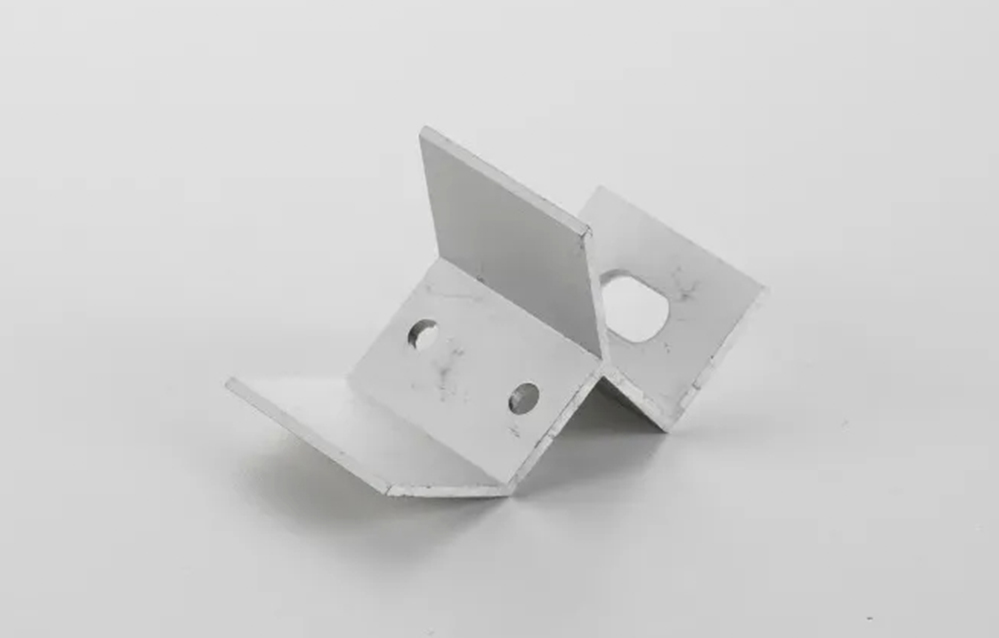
UV & Moisture Resistant Solar Panel Clamp with Custom Sizes
Customization: Available
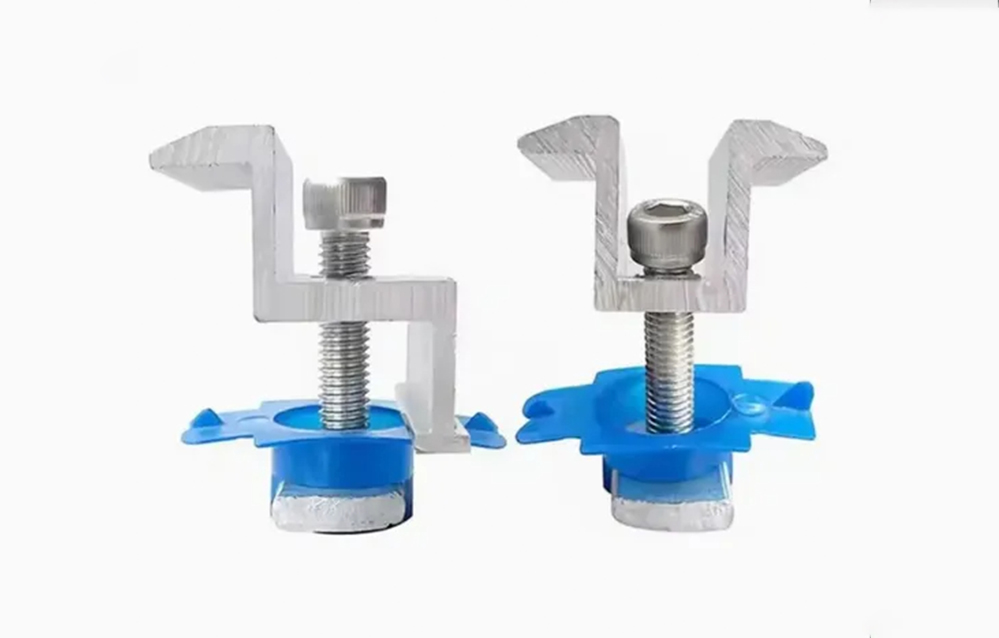
Reliable Solar Photovoltaic Medium Voltage Block with Aluminum Alloy
Material: Aluminum Alloy
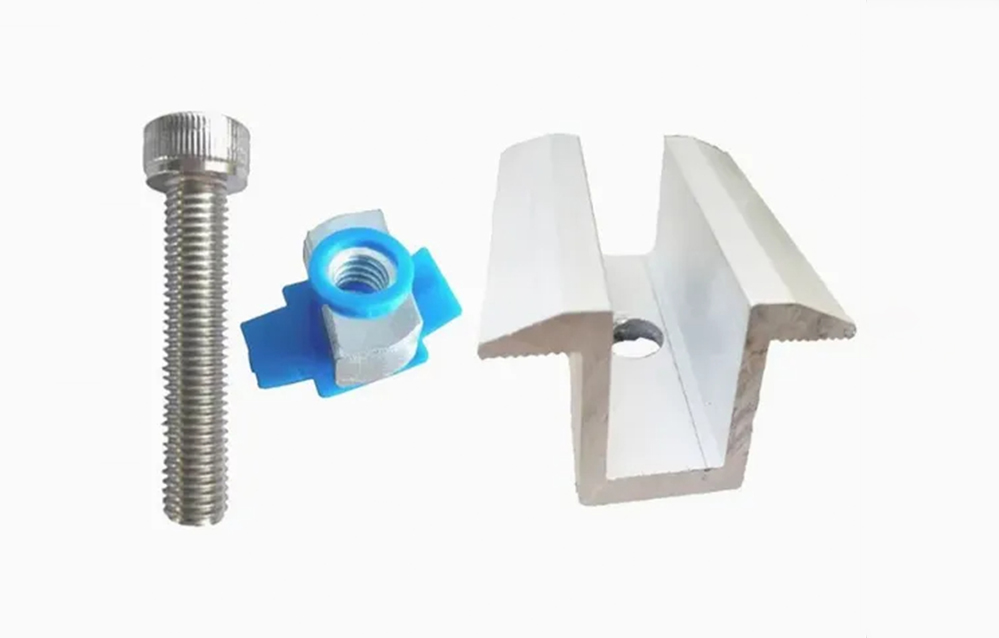
Solar Photovoltaic Panel Medium Voltage Block 50 Long
Material: Aluminum Alloy
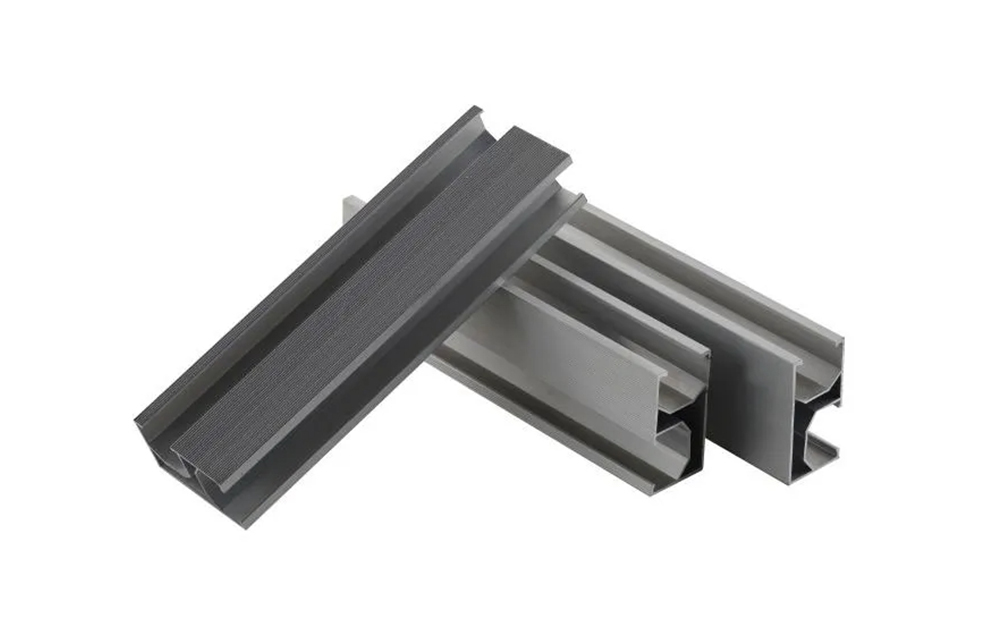
Premium Solar Panel Mounting Rail System for PV Installation
Customization: Available
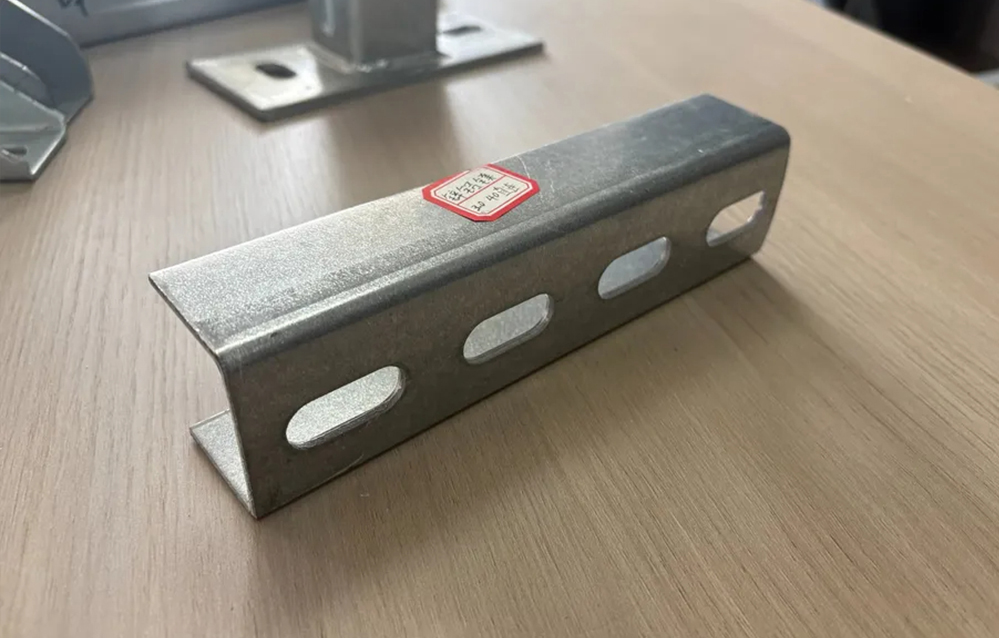
High Strength Heavy Duty Pre Galvanized Steel Solar Mounting Bracket for Ground Mount Systems
After-sales Service: 24-Hour Service