Oct.02,2026
Share
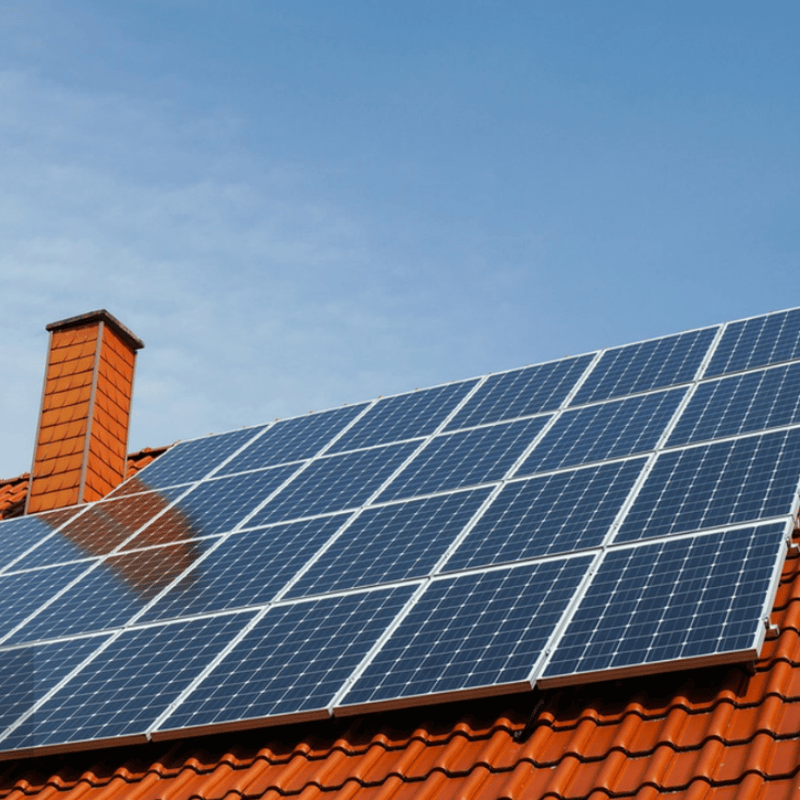
Tile roof solar mounting systems are specially designed structures that secure solar panels to tile roofs, ensuring durability and protection for both the panels and the roof materials beneath.
These mounting systems minimize the risk of damage to clay and concrete tiles during installation, which is a common concern for homeowners transitioning to solar energy.
Before installation, examine your tile roof for any existing cracks or damage. This ensures that the surface can adequately support the mounting system and the solar panels.
You'll need the following tools:
Select a mounting system compatible with tile roofs. Huitai Photovoltaic offers various options specifically designed for clay and concrete tiles, ensuring a secure fit.
Carefully mark the locations for the mounting brackets. Ensure they align with the roof's trusses for optimal support.
Drill pilot holes through the tile into the roof deck and install the brackets, being cautious to avoid cracking the tiles. Use the level to ensure they are straight.
After securing the brackets, place the solar panels onto the mounts. Adjust as needed for proper alignment and stability.
Use bolts to secure the solar panels to the mounting brackets. Make sure all bolts are tightened to the manufacturer's specifications to prevent movement.
Examine all components to ensure everything is securely fastened. Check the roof for any potential damage before concluding the project.
Failing to check the roof for damage can lead to complications later; always assess before starting.
Double-check all measurements to avoid misplacing mounting brackets, which can result in instability.
While it's important to secure everything tightly, overtightening can crack tiles and damage the roof structure.
Proper installation of tile roof solar mounting systems is crucial for protecting clay and concrete tiles. By following these detailed steps and avoiding common mistakes, you can ensure a successful solar installation that safeguards your roof and maximizes energy efficiency. For high-quality solar mounting solutions, trust Huitai Photovoltaic and visit our site for more information.
Hot Products

High Quality Metal Fabrication Clamps Solid Integral Stainless Steel Integrated Clamp A
Usage: Heavy Duty Clamp, Pipe Clamp, Glass Clamp
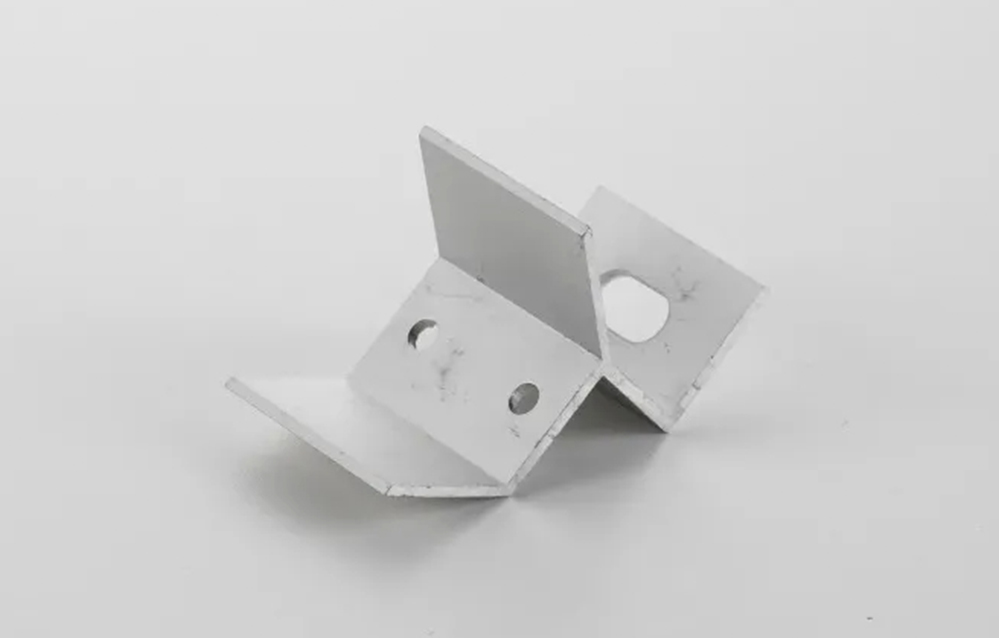
UV & Moisture Resistant Solar Panel Clamp with Custom Sizes
Customization: Available
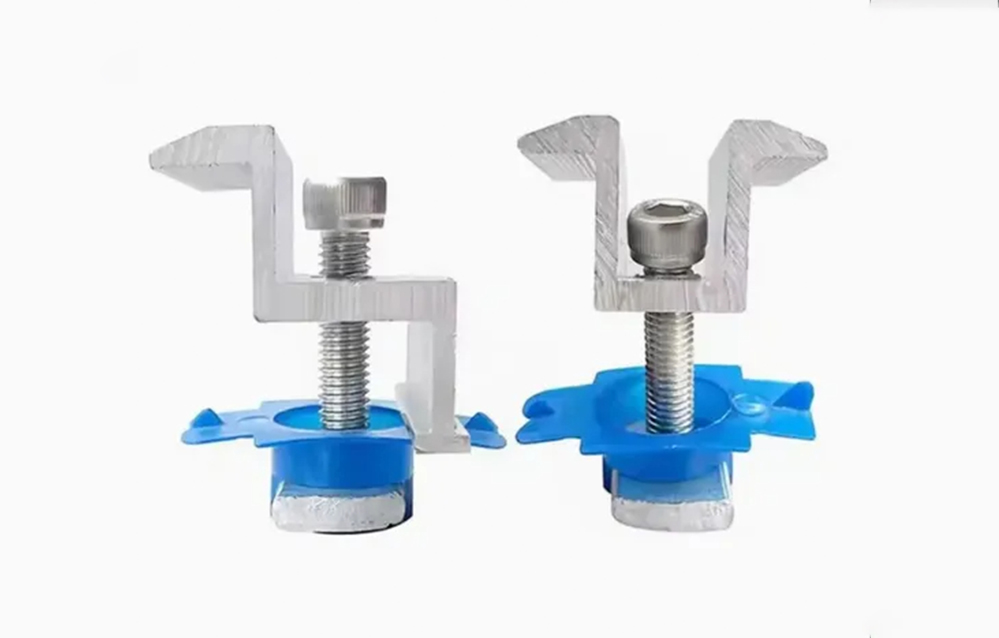
Reliable Solar Photovoltaic Medium Voltage Block with Aluminum Alloy
Material: Aluminum Alloy
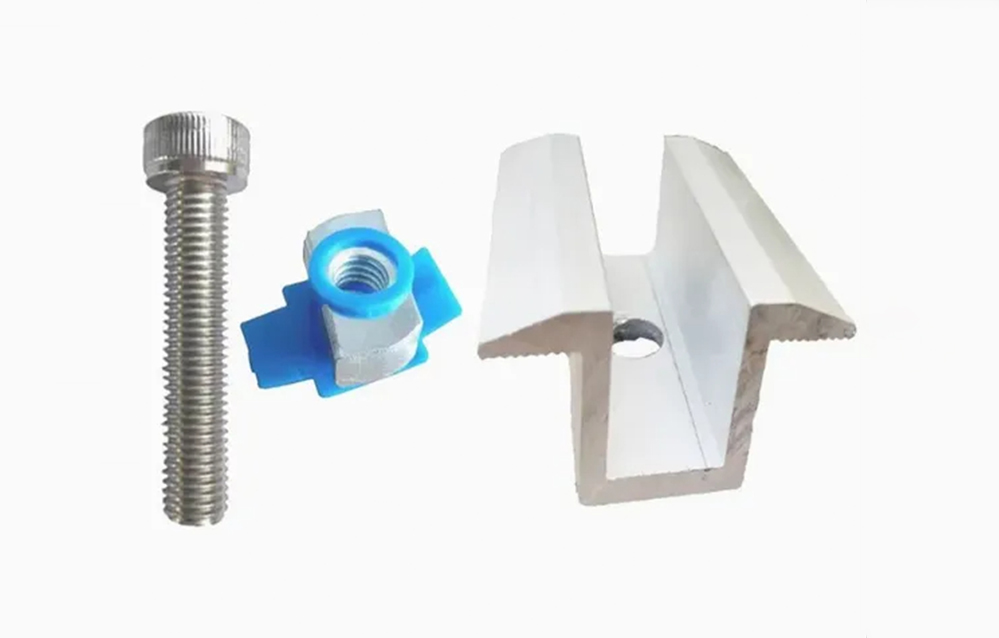
Solar Photovoltaic Panel Medium Voltage Block 50 Long
Material: Aluminum Alloy
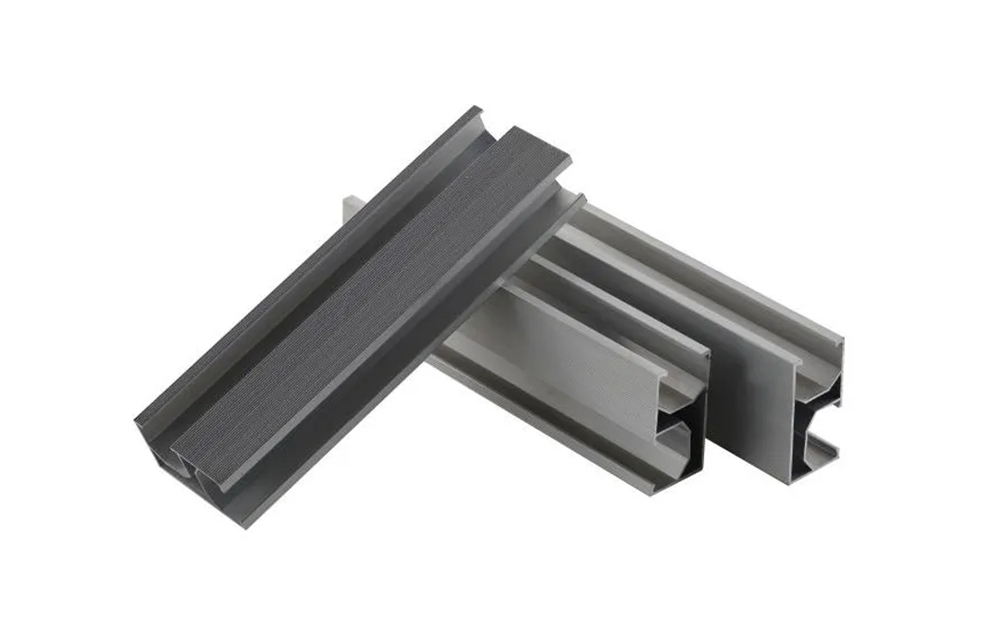
Premium Solar Panel Mounting Rail System for PV Installation
Customization: Available
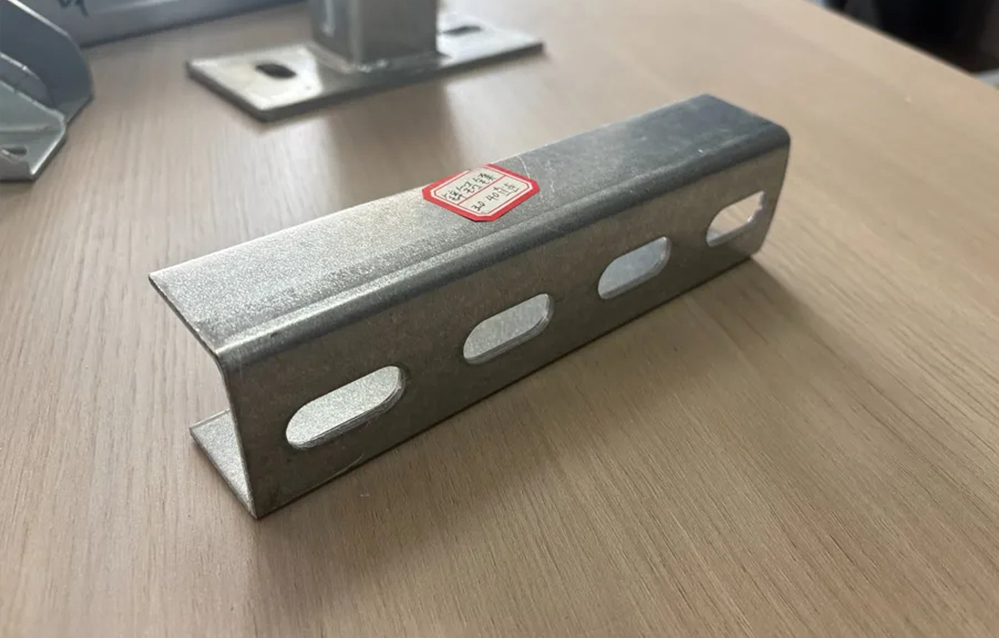
High Strength Heavy Duty Pre Galvanized Steel Solar Mounting Bracket for Ground Mount Systems
After-sales Service: 24-Hour Service