Nov.10,2026
Share
If you’re looking to harness the power of solar energy for your business, evaluating site conditions and soil type becomes a crucial first step before installing Solar Ground Mounts. This guide will provide you with clear, actionable methods to assess your site effectively, ensuring your solar array is robust and efficient. By the end of this article, you’ll be equipped with practical steps that will facilitate a smooth installation process for your systems, enhancing your overall return on investment.
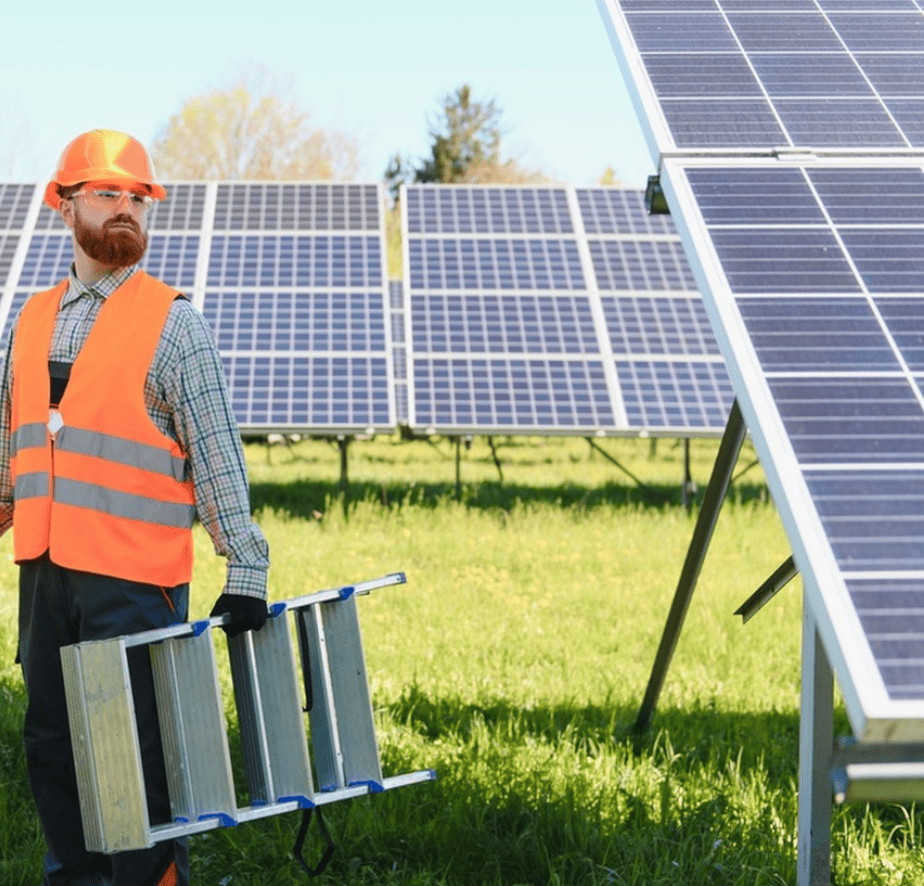
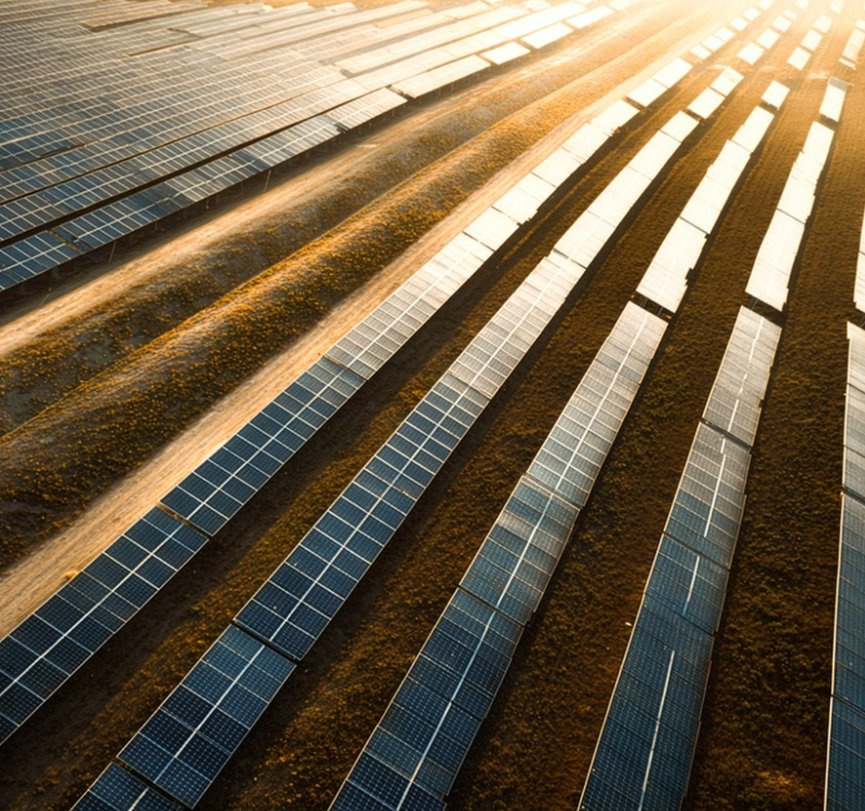
Begin by performing a comprehensive site assessment. This involves analyzing the topography and layout of the land. Ensure that your chosen area receives ample sunlight—ideally, at least 6 hours of direct sun exposure daily for optimal efficiency.
Use GPS Technology: Leverage GPS to pinpoint crucial environmental data. According to industry standards, including ASTM E391 and DIN 3380, your site should be evaluated considering potential shading from nearby structures, trees, or geographic features.
Mapping the Area: Create a detailed layout of the site. Use surveying equipment to measure distances and heights to the millimeter precision, ensuring a precise installation plan.
Once you’ve established your site’s geographical conditions, it’s time to delve into the soil type. Different soil types have varying properties, affecting the stability and longevity of solar mounts.
Soil Sampling: Collect soil samples from multiple points within the designated area. This process should follow the ASTM D422 standard for particle size analysis. I recommend sending samples to a laboratory that offers a comprehensive soil analysis, including compaction tests and load-bearing capacity evaluations.
Identify Soil Type: Determine whether you have sandy, clay, or loamy soil. Each type presents unique challenges and advantages. Clay soil, while cohesive, can retain water, potentially compromising mounting stability. Sandy soil offers excellent drainage but may lack the necessary cohesion.
Understanding the soil's load-bearing capacity is crucial for ensuring your solar ground mounts can withstand the weight and forces applied to them.
Load Calculation: Utilize tools like a pocket penetrometer or a soil compaction meter to measure the resistance of the soil. This will help quantify its load-bearing capacity.
Establish Safety Margins: As a best practice, design your mounts to exceed the calculated load requirements. This approach enhances reliability and longevity, as systems installed by trusted Solar Mounting Suppliers like Huitai Photovoltaic often feature engineered safety margins.
While the process seems straightforward, challenges may arise. Unforeseen geological conditions and variable weather can affect your evaluations. It’s prudent to:
To streamline your efforts, the following tools are recommended:
Utilizing reliable resources, such as guidelines from ASTM or tools from Huitai Photovoltaic, can substantially improve execution efficiency.
To effectively evaluate site conditions and soil type before installing solar ground mounts, follow these key steps:
By taking these practical steps, you’ll position your solar project for success and durability. Remember, a well-planned foundation leads to a well-functioning solar ground installation, contributing to your business’s sustainability goals while maximizing energy efficiency. Now is the time to take immediate action and ensure that your solar ground mounts from Huitai Photovoltaic are installed on a solid foundation—both literally and figuratively.
If you’d like to learn more about optimizing your solar setups or need assistance, visit Huitai Photovoltaic or check our resources at www.htphotovoltaic.com/storage/watermark/f_imgs/20260415/69baee8cd1c1c24b9d53061cd5e6ed0c.png.
More News
Hot Products

High Quality Metal Fabrication Clamps Solid Integral Stainless Steel Integrated Clamp A
Usage: Heavy Duty Clamp, Pipe Clamp, Glass Clamp

UV & Moisture Resistant Solar Panel Clamp with Custom Sizes
Customization: Available
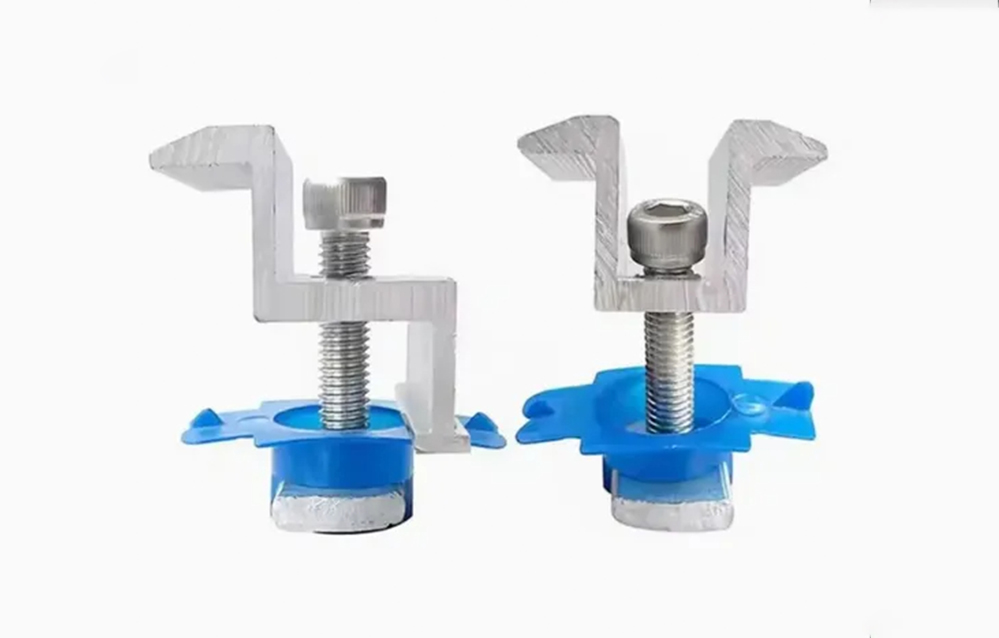
Reliable Solar Photovoltaic Medium Voltage Block with Aluminum Alloy
Material: Aluminum Alloy
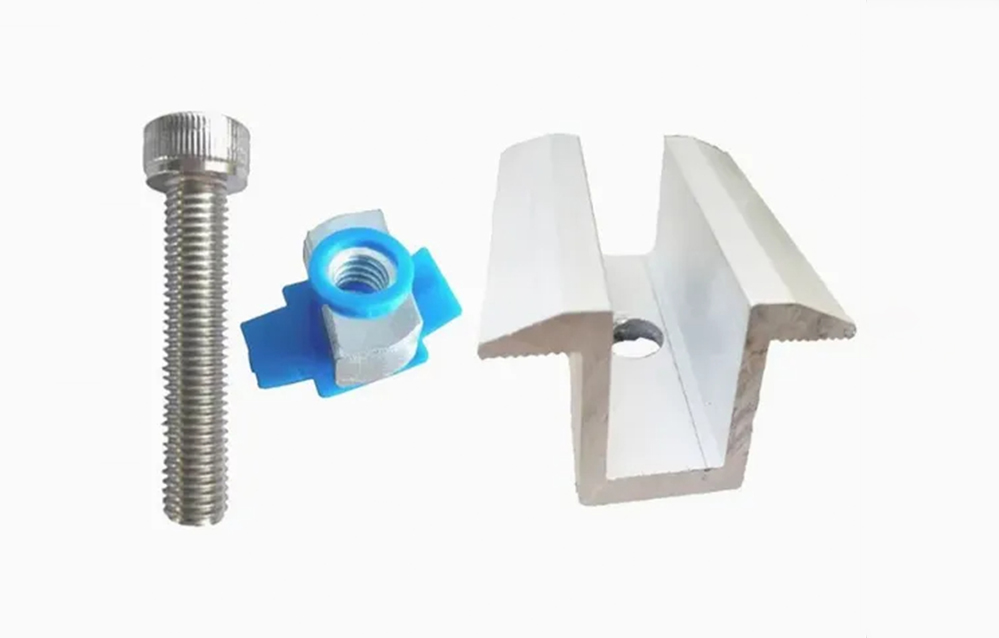
Solar Photovoltaic Panel Medium Voltage Block 50 Long
Material: Aluminum Alloy
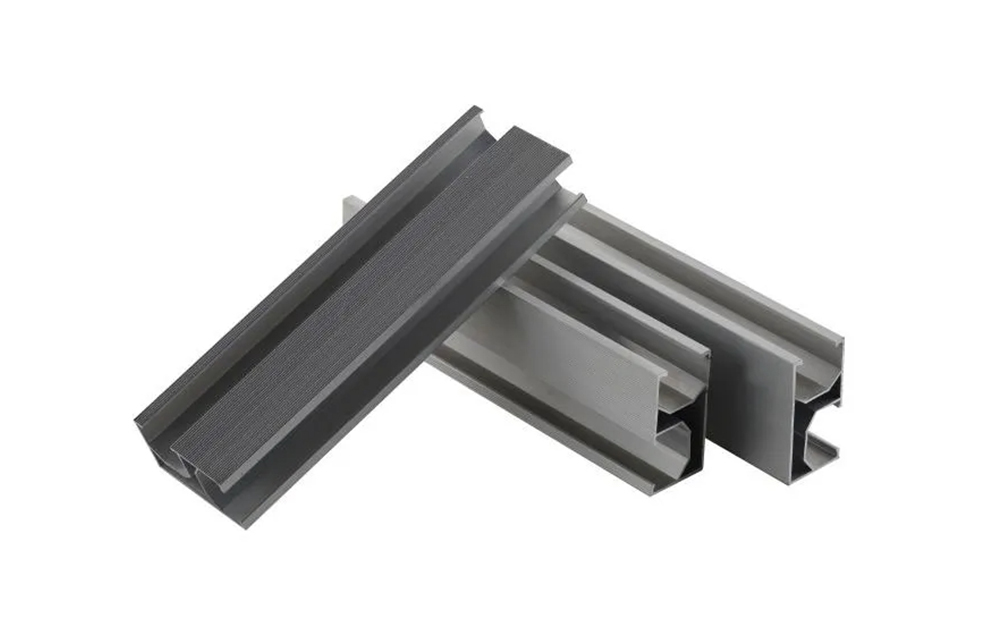
Premium Solar Panel Mounting Rail System for PV Installation
Customization: Available
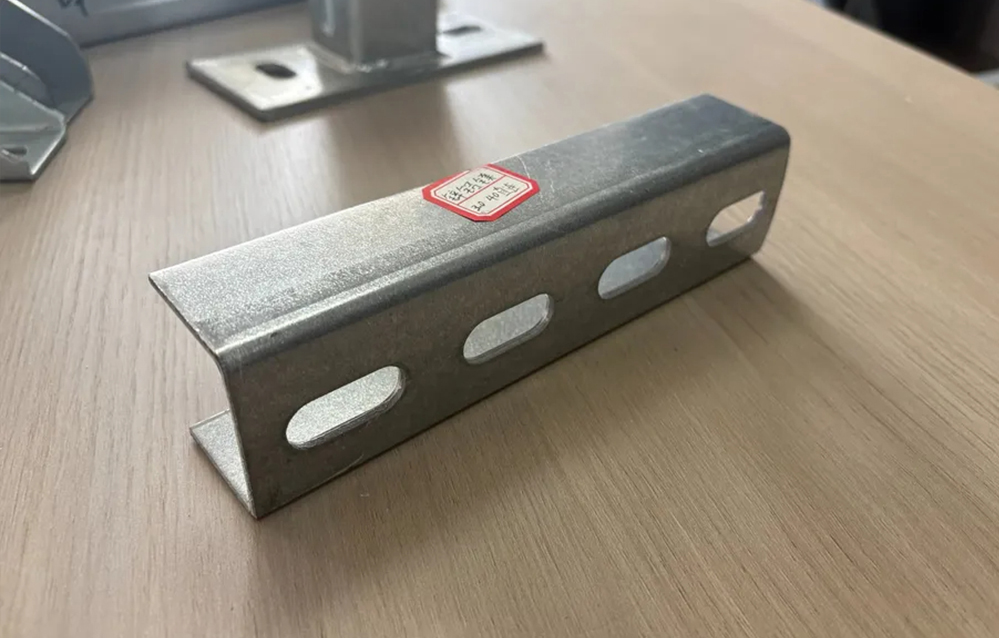
High Strength Heavy Duty Pre Galvanized Steel Solar Mounting Bracket for Ground Mount Systems
After-sales Service: 24-Hour Service