Oct.19,2026
Share
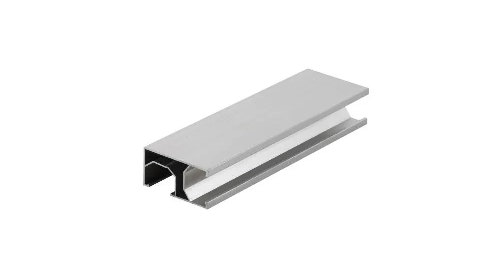
Pre-installation inspection of solar mounting rails helps verify structural suitability, prevent panel alignment errors, and reduce the risk of roof damage. For projects using Huitai aluminum solar rails and photovoltaic mounting accessories, installers should check material documentation, rail straightness, dimensions, surface condition, connector compatibility, and roof attachment details before installation begins. The correct inspection criteria depend on the rail profile, roof type, design loads, and project drawings. Huitai supplies aluminum solar mounting rails and solar panel mounting accessories for rooftop and ground-mounted PV projects, helping buyers coordinate compatible components for their installation requirements.
Solar mounting rails carry photovoltaic modules and transfer loads through clamps, brackets, and other structural connections. A rail that does not match the approved specification may deform under load or fail to fit the mounting hardware.
Before installation, compare the delivered products with the purchase order, approved drawings, product data sheet, and material certificates where required.
Do not assume every solar mounting rail uses the same aluminum grade. Huitai's published metal-roof mounting system specifies anodized AL6005-T5 aluminum for its main structure. Other projects may specify different alloys or tempers depending on the rail profile, structural calculations, and application.
Verify the following information:
Aluminum alloy and temper specified in the approved documentation
Rail cross-section and wall thickness
Required mechanical properties, where applicable
Product dimensions and permitted tolerances
Traceability between delivered products and the relevant documentation
For example, 6063-T5, 6061-T6, and 6005-T5 are not interchangeable labels. Each material has different properties, and suitability depends on the designed profile and loading conditions. Use the grade approved for the project rather than substituting a material based only on availability.
Examine the rails for visible damage that could affect installation or service performance. Look for deep scratches, dents, cracks, crushed channel edges, twisting, or local deformation.
Minor cosmetic marks may not affect function, but damage near clamp contact areas, splice connections, or mounting slots deserves closer review. If the profile is distorted, do not force the clamps or connectors into place.
Anodized aluminum is commonly used in outdoor photovoltaic mounting systems because the surface treatment helps protect the material against environmental exposure.
Check for obvious coating damage, peeling, unusual discoloration, pitting, or corrosion. Pay particular attention to cut ends, drilled areas, and locations where components contact each other.
Where the project has specific corrosion-resistance requirements, verify the coating specification and inspection criteria in the approved documents. A visual inspection alone cannot establish coating thickness or long-term corrosion performance.
Dimensional errors can cause panel rows to drift out of alignment, create uneven gaps, and complicate installation. Inspection should therefore cover both individual rails and the planned mounting layout.
Measure the delivered rails against the approved installation drawings and cutting schedule. Confirm that the correct lengths have been supplied for the intended spans and row configurations.
Check that cut ends are clean and reasonably square. Burrs and sharp edges can obstruct splice connectors, interfere with assembly, or create handling hazards.
If the rails are supplied in standard lengths and cut on site, confirm the cutting method, allowable length tolerance, and any requirements for treating exposed edges.
Lay the rail on a suitable support surface or inspect it using an appropriate straightedge, level, or taut string line. A 4- to 6-foot level can help assess a section, but the inspection method should match the rail length and the project's specified tolerance.
Look for:
Bowing along the rail length
Twisting between the two ends
Local bends near holes or cut edges
Uneven contact with the supporting surface
Differences between rails intended for the same row
Do not judge straightness only by looking along the rail. Long profiles may have deviations that become apparent only when measured against a reference line.
If a rail appears bent, compare the measured deviation with the manufacturer's tolerance and project requirements. Replace or quarantine nonconforming parts rather than using clamps to pull a significantly distorted rail into position.
Check that T-bolt channels, clamp grooves, and mounting slots are free from debris, burrs, and deformation. Slide the specified hardware into a sample rail section to confirm that it fits and moves as intended.
The test should use the actual compatible components. A bolt that fits loosely may not provide the intended connection, while a bolt that cannot slide correctly may slow installation or damage the rail.
Huitai offers custom aluminum solar rails for different project requirements. When ordering customized profiles, buyers should confirm the cross-section, slot dimensions, rail length, hole positions, and matching hardware before approving bulk production.
Long solar panel rows may require multiple rail sections. Splice connectors join these sections and help maintain continuity across the mounting layout.
Before installation, confirm that each connector matches the rail profile and is suitable for the specified connection method.
Inspect the following:
Connector dimensions and insertion depth
Alignment between adjoining rail sections
Correct bolt, nut, and washer sizes
Required fastener quantity and tightening procedure
Any specified gap or spacing at the joint
Evidence of looseness, deformation, or incompatible parts
Assemble a sample joint where practical. The connector should fit according to its design without excessive force or unintended movement. Check that adjoining rail sections do not form a step that could interfere with module placement.
Aluminum expands and contracts as temperatures change. Rail systems must accommodate thermal movement according to the manufacturer's joint design and the installation layout.
Do not automatically close every joint tightly or leave an arbitrary gap. The required clearance depends on rail length, temperature range, connector design, and the specified installation procedure.
Follow the approved installation instructions for splice placement, expansion gaps, and fastening. Incorrect joint treatment can contribute to buckling, stress concentration, or alignment problems.
A rail may meet its own dimensional requirements but still be unsuitable for installation if the supporting accessories are incompatible with the roof or rail profile.
Huitai's product range includes solar panel mounting brackets, roof hooks, clamps, and fasteners. The correct combination depends on the roof construction, mounting method, module layout, and project-specific load requirements.
| Roof or installation type | Items to verify before installation |
|---|---|
| Tile roof | Roof hook dimensions, tile clearance, attachment to structural members, and flashing or waterproofing details |
| Metal roof | Roof profile, sheet thickness, attachment type, fixing locations, and sealing method |
| Flat roof | Support base, ballast or anchoring method, roof membrane protection, and drainage clearance |
| Ground-mounted system | Foundation type, bracket alignment, rail connection details, and site-specific wind and snow loads |
| Solar carport | Structural connection points, corrosion protection, drainage, and approved load calculations |
Do not select brackets based on appearance alone. Roof sheets, tiles, purlins, and underlying structural members have different load-bearing characteristics. The attachment must transfer loads into the intended supporting structure.
Confirm the specified bolt grade, material, dimensions, washers, and tightening requirements. Stainless steel fasteners such as SUS304 may be specified for some systems, while other projects may require different materials based on the environment and engineering design.
Where aluminum contacts stainless steel, carbon steel, or galvanized steel, evaluate galvanic corrosion risk under the expected moisture and exposure conditions. Use approved isolation components or protective measures where specified.
Do not mix fastener grades or substitute washers without approval. Incorrect hardware can affect connection strength, corrosion resistance, and installation reliability.
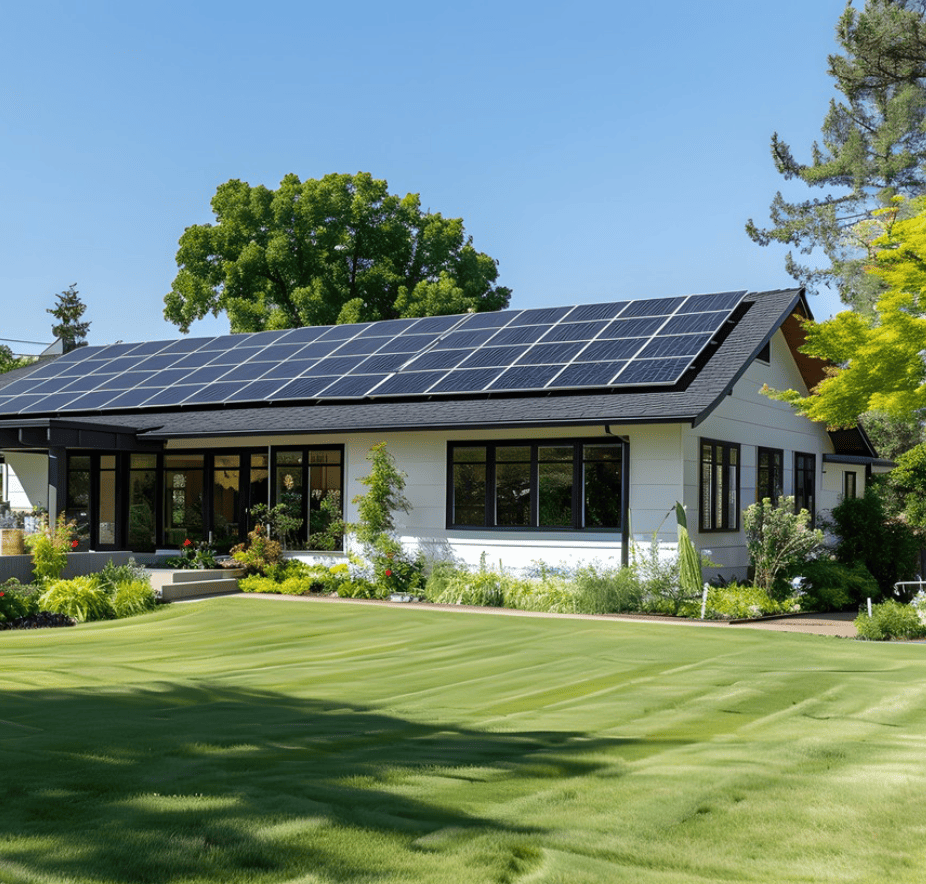
For rooftop solar installations, mounting hardware must be compatible with the roofing system. Incorrect installation can damage roofing materials, obstruct drainage, or create water-entry points.
Before fixing the rails, confirm the bracket locations and review the approved waterproofing details.
For pitched roofs, check that roof hooks or brackets fit the roof structure without placing unintended pressure on tiles. For metal roofs, verify that the attachment and sealing method match the specific sheet profile and mounting design.
For flat roofs, inspect the protective layers beneath mounting bases and confirm that the system does not block drainage paths or damage the roof membrane.
After installation, complete the required inspection of penetrations, seals, flashing, and other waterproofing details. Do not assume that a tight-looking fastener or bracket is proof of a watertight connection.
Visual checks cannot prove that a rail is structurally adequate. Before installation, verify that the mounting design addresses the relevant loads and local conditions.
The review should cover:
Project location and applicable building requirements
Design wind loads and snow loads
Rail span and support spacing
Module dimensions, weight, and orientation
Bracket locations and attachment capacity
Foundation or roof-substructure conditions
Approved fastener specifications and installation torque
Any required inspection or test records
Huitai's published AL6005-T5 metal-roof mounting system lists a maximum design wind speed of up to 60 m/s and a maximum design snow load of up to 1.4 kN/m². These are product-page figures for that specified system, not universal ratings for every rail or installation. Actual suitability must be confirmed against the applicable configuration, engineering calculations, roof conditions, and local requirements.
For ground-mounted projects, foundation selection is also important. Ground screws, piles, and concrete foundations may be appropriate under different soil and structural conditions. The foundation and rail system should be assessed as one integrated structure.
Before releasing materials for installation, the site team or quality inspector can use the following checklist.
Confirm rail model, alloy, temper, and drawing revision.
Check delivered quantities and rail lengths.
Inspect profiles for cracks, dents, twisting, and deep scratches.
Verify straightness against project tolerances.
Check anodized or other specified surface treatment.
Inspect channels, slots, and cut ends for burrs or damage.
Test sample rail joints and splice connectors.
Confirm clamp, bracket, hook, and fastener compatibility.
Verify the approved joint and thermal movement requirements.
Review roof attachment and waterproofing details.
Confirm structural design loads and support spacing.
Record defects and obtain approval before using nonconforming materials.
Record inspection results with photographs, measurements, batch details, and corrective actions where required. This documentation helps resolve discrepancies between delivered materials, installation drawings, and actual site conditions.
Several common mistakes can undermine the value of a pre-installation inspection.
Checking appearance but not dimensions: A rail can look acceptable while having a length or straightness deviation that affects module alignment. Measure critical dimensions instead of relying on visual judgment.
Assuming similar profiles are interchangeable: Rails with similar shapes may have different slot dimensions, wall thicknesses, or load capacities. Confirm the exact model and compatible hardware.
Ignoring cut ends and connection points: Damage near a splice or clamp area can affect assembly. Inspect these locations carefully.
Using hardware to compensate for a poor fit: Forcing a bolt, clamp, or splice into an incompatible profile may damage components and create an unreliable connection.
Treating product ratings as universal: Wind and snow ratings depend on the mounting configuration, support spacing, attachment method, and project conditions. Confirm that the specified system matches the intended application.
Skipping waterproofing checks: A structurally secure bracket can still cause roof leakage if the attachment or sealing method is unsuitable for the roof.
The required alloy and temper depend on the approved rail design and structural requirements. Huitai publishes AL6005-T5 for a specified metal-roof mounting system, but buyers should verify the exact material grade for the product they order.
Use an appropriate straightedge, level, or taut string line and compare the measured deviation with the manufacturer's tolerance or project specification. Inspect long rails along their full length and check for twisting as well as bowing.
Confirm splice compatibility, insertion depth, fastener dimensions, alignment, and the specified joint gap. Follow the manufacturer's instructions for thermal movement and tightening rather than applying a generic joint spacing rule.
A rail profile may be usable in different systems, but the roof hooks, brackets, fasteners, and waterproofing details can differ. Confirm the complete mounting configuration for the roof type and structural requirements.
Provide the rail drawing or profile, required lengths, alloy and surface treatment, panel dimensions, roof or foundation type, project layout, design loads, hardware requirements, and order quantity. This helps the supplier assess compatibility and prepare a suitable quotation.
Before purchasing solar mounting rails, confirm that the rail profile, material, surface treatment, connectors, and roof attachments match your project requirements. Huitai supplies aluminum solar rails, solar mounting brackets, roof hooks, clamps, fasteners, and mounting systems for rooftop, ground-mounted, and other photovoltaic applications. For product details, customized rail requirements, or a project quotation, contact Huitai at yangjieguo@wgd-tech.com or visit www.htphotovoltaic.com.
More News
Hot Products
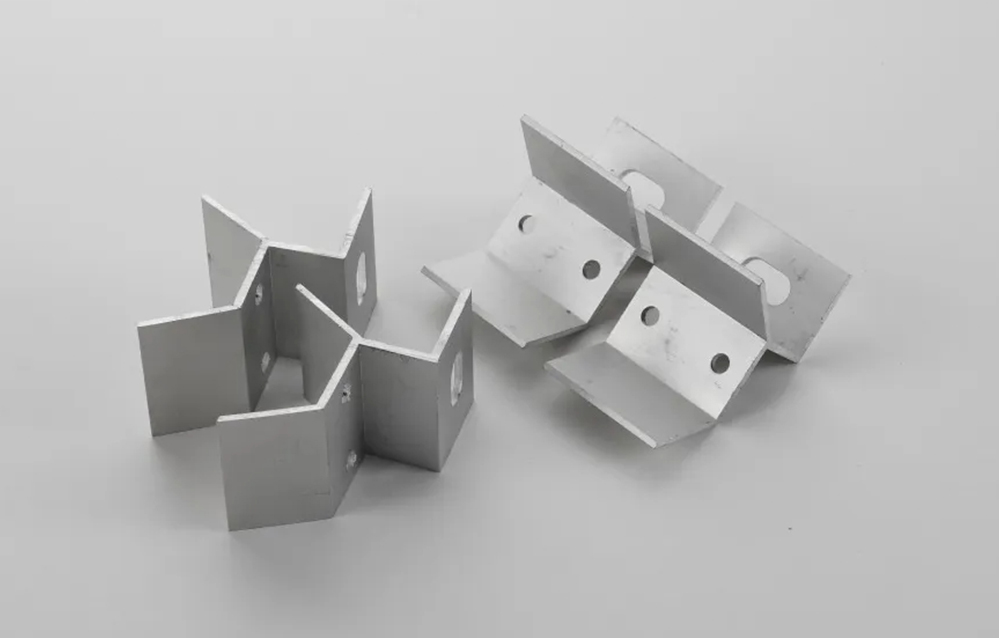
High Quality Metal Fabrication Clamps Solid Integral Stainless Steel Integrated Clamp A
Usage: Heavy Duty Clamp, Pipe Clamp, Glass Clamp
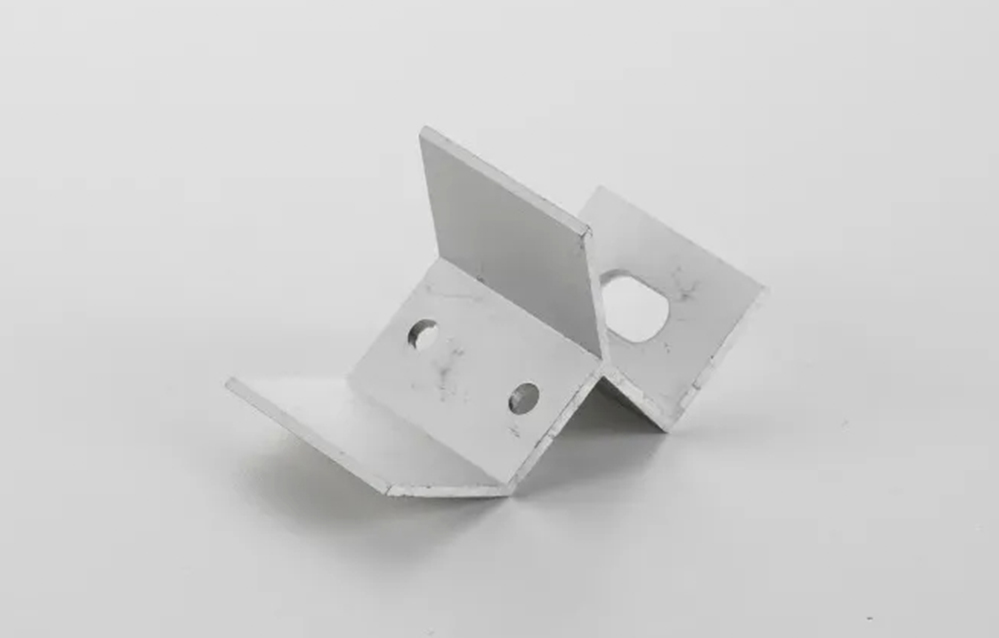
UV & Moisture Resistant Solar Panel Clamp with Custom Sizes
Customization: Available
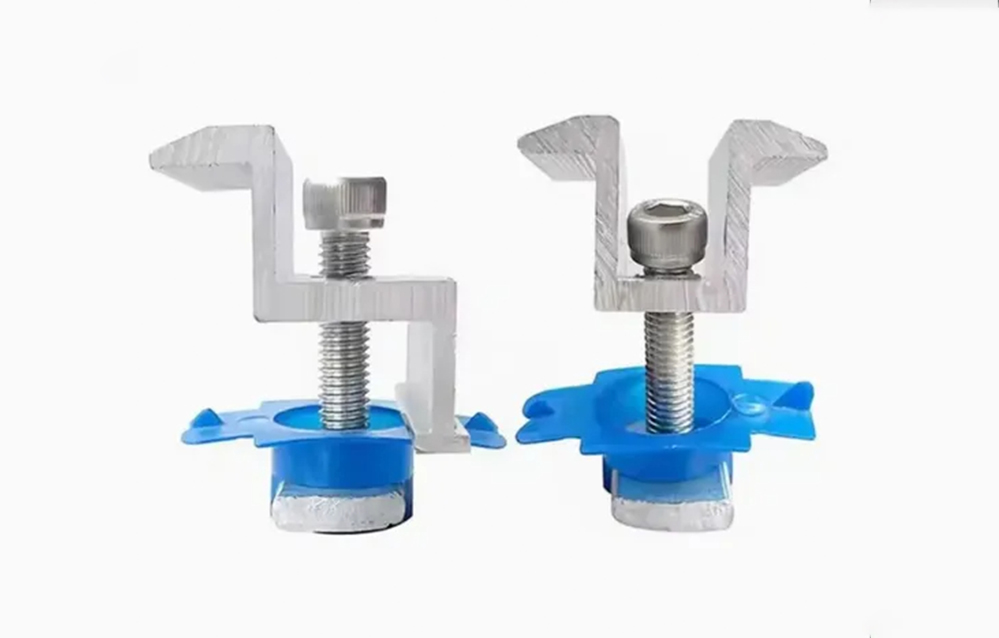
Reliable Solar Photovoltaic Medium Voltage Block with Aluminum Alloy
Material: Aluminum Alloy
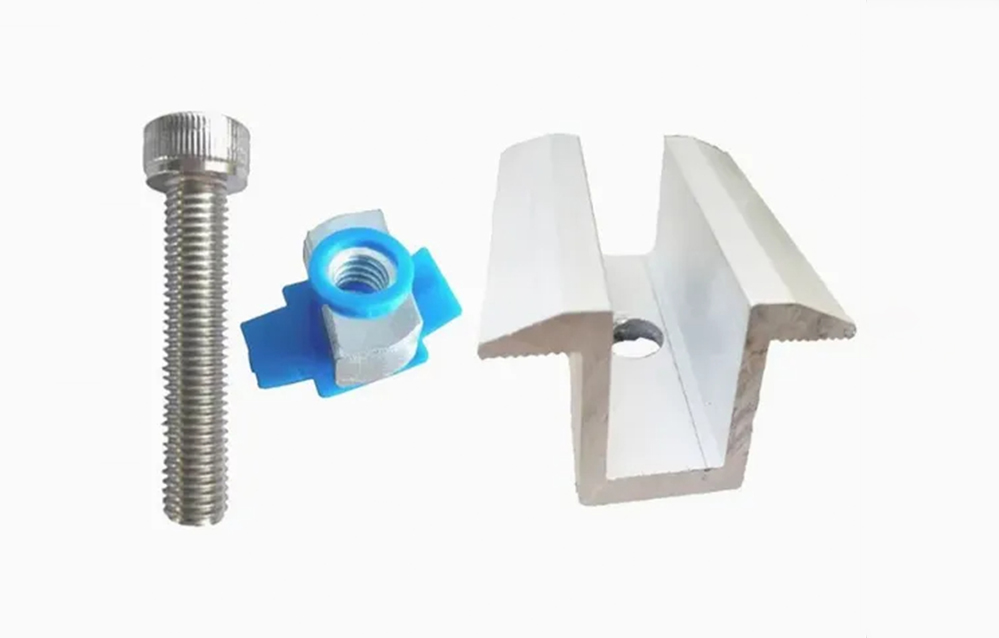
Solar Photovoltaic Panel Medium Voltage Block 50 Long
Material: Aluminum Alloy
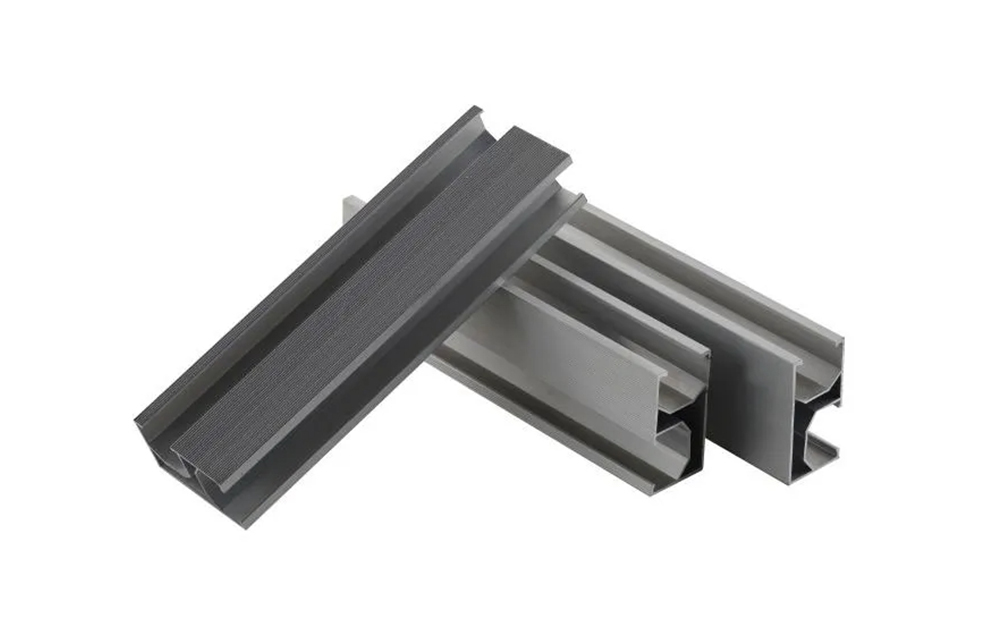
Premium Solar Panel Mounting Rail System for PV Installation
Customization: Available
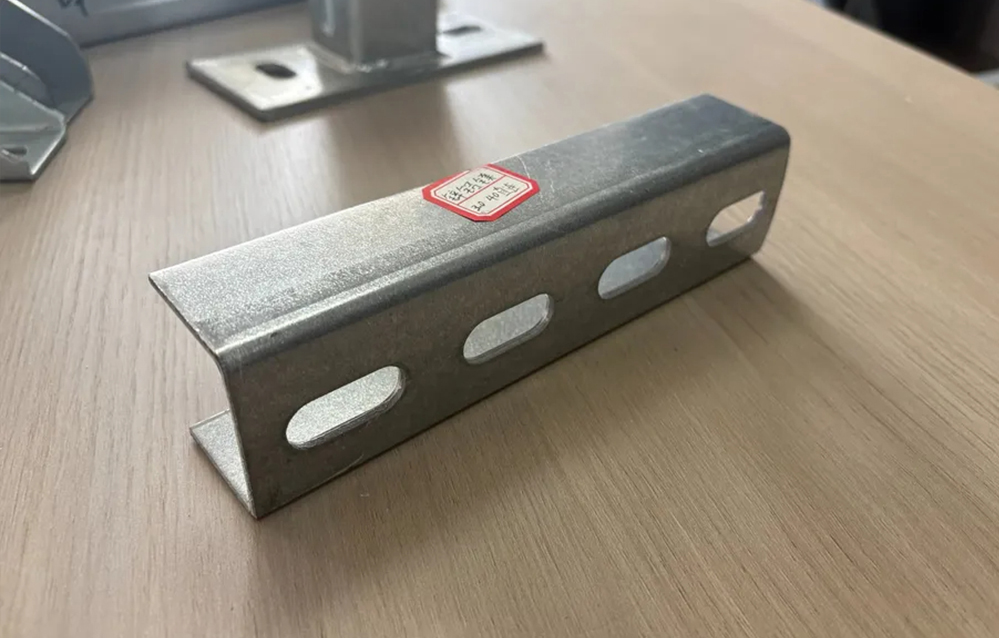
High Strength Heavy Duty Pre Galvanized Steel Solar Mounting Bracket for Ground Mount Systems
After-sales Service: 24-Hour Service