Installing Solar Panel Roof Mounts on asphalt shingles is a crucial process that can dictate the efficiency and lifespan of your solar energy system. This guide offers a detailed, step-by-step overview of how to carry out this installation successfully. Whether you’re looking to install solar panels on your home or simply want to understand the process better, these instructions provide actionable insights and tips for a satisfied solar experience.
1. Gather Essential Tools and Materials
- Tools Needed:
- Power drill with bits
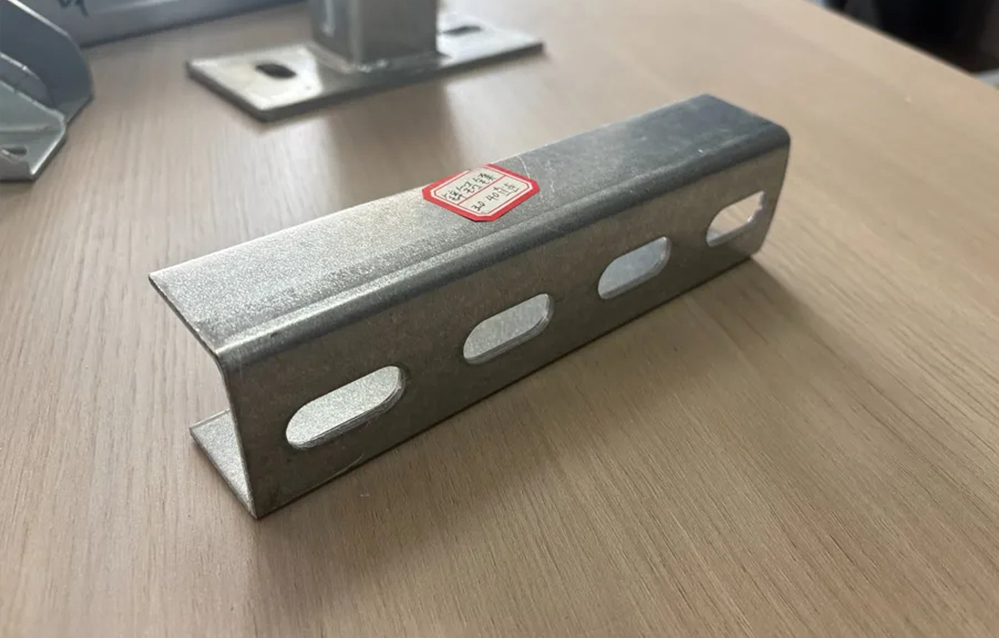
- Mounting brackets specific for asphalt shingles
- Level
- Measuring tape
- Pencil for marking
- Ladder for roof access
- Materials Needed:
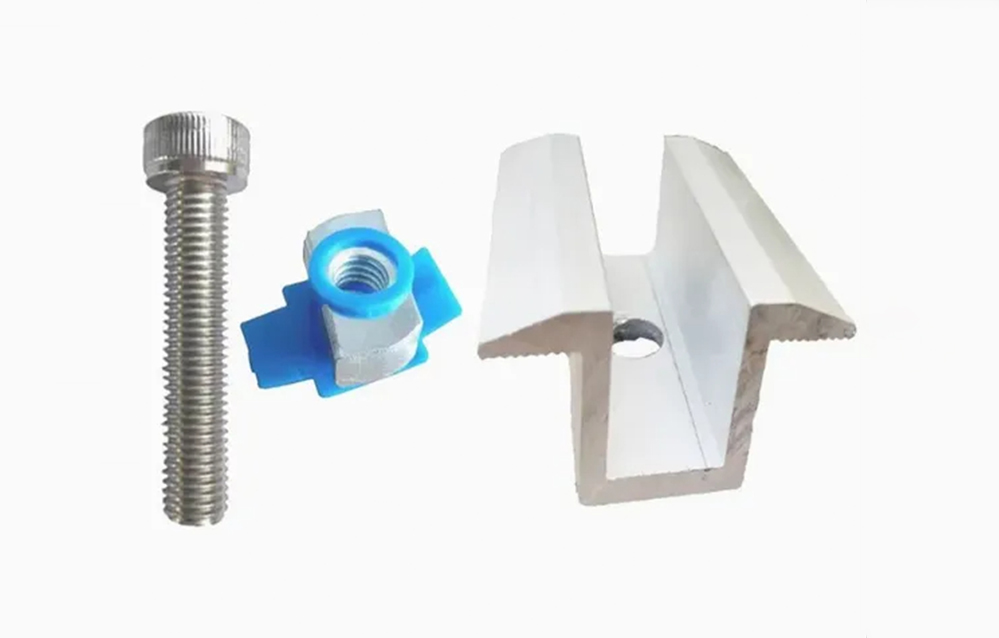
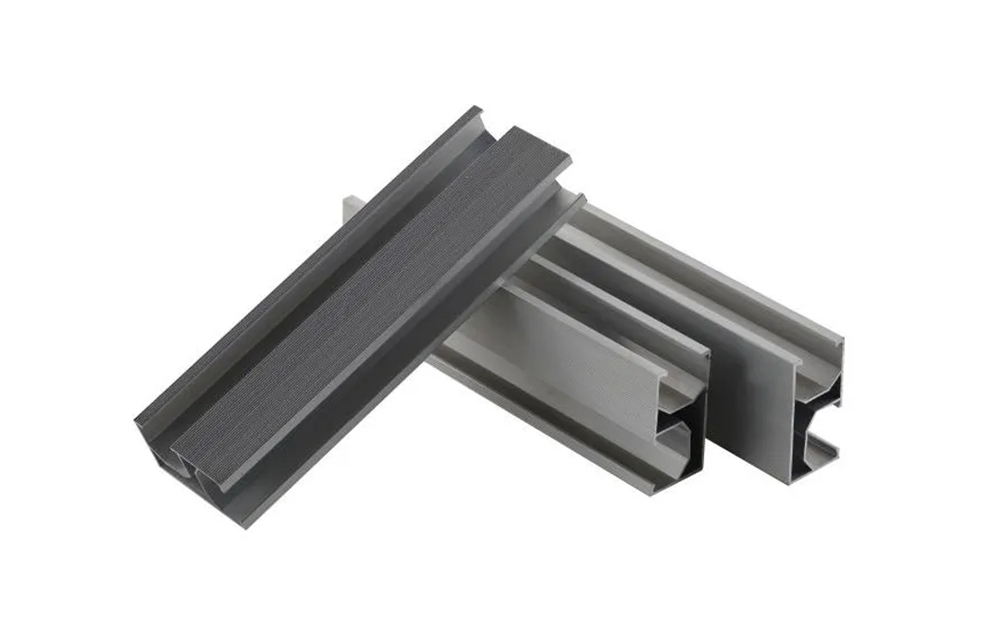
- solar panel roof mounts
- Sealant to waterproof holes
- Hardware package (bolts, washers, nuts)
- Safety gear (harness, gloves)
2. Safety Precautions Before Installation
- Ensure that the weather is clear on the day of installation to minimize risks.
- Wear safety gear including harnesses and gloves to protect against falls and sharp materials.
- Use a sturdy ladder and consider having a partner assist you during the installation process.
3. Assess the Roof Structure
- Inspect the roof for any damages or weak spots that may affect the installation.
- Ensure the roof has a slope conducive for solar panel installations, ideally between 15° and 40°.
- Verify that the shingles are in good condition to avoid leaks after the installation.
4. Mark Mounting Locations
- Determine the optimal placement of the solar panels, taking into account sunlight exposure.
- Use the measuring tape to evenly space the mounting brackets along the rafters for balanced support.
- Mark locations with a pencil to guide the drilling process.
5. Install Mounting Brackets
- Drill pilot holes into the marked spots on the roof.
- Secure the mounting brackets by using bolts and washers into the pilot holes.
- Apply sealant around each bolt to prevent water leaks.
6. Secure the Solar Panels
- Once the brackets are installed and sealed, place the solar panels onto the brackets.
- Ensure each panel is level and properly aligned before tightening screws.
- Double-check connections to ensure all panels are securely fastened and stable.
7. Connect to Electrical System
- Follow manufacturer guidelines to connect the solar panel wiring to your home’s electrical system.
- Ensure all connections are insulated and secured to prevent any electrical hazards.
- Consult with a licensed electrician if you are unsure about electrical connections.
8. Final Inspection and Testing
- Check all mounting brackets and panels for secure attachment.
- Test the solar panel system output to ensure it is functioning correctly.
- Schedule maintenance checks regularly to assess wear and tear and address any potential issues before they lead to larger problems.
9. Importance of Professional Assistance
- Consider hiring a professional installer if you lack experience working at heights or are not confident in your ability to perform electrical connections.
- Professional installers have the expertise and tools to ensure a safe and efficient installation.
- Many companies offer warranties on installation, providing peace of mind in case of future issues.
10. Conclusion
Installing solar panel roof mounts on asphalt shingles might seem daunting, but with proper preparation and careful execution, it can be done effectively by following this step-by-step guide. Remember to always prioritize safety, gather the right tools and materials, and consult with professionals when needed. By implementing these steps, you can ensure a successful solar installation that maximizes energy output and protects your roof.
For additional resources and high-quality solar panel equipment, consider browsing Huitai Photovoltaic: Huitai Photovoltaic.