May.11,2026
Share
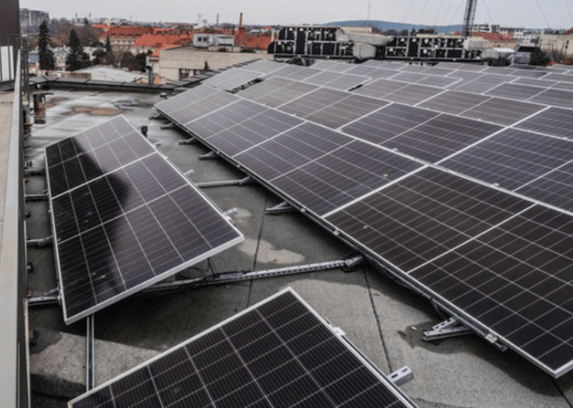
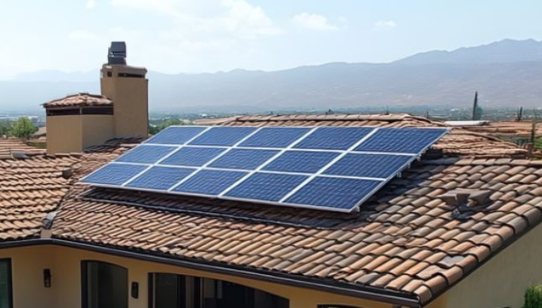
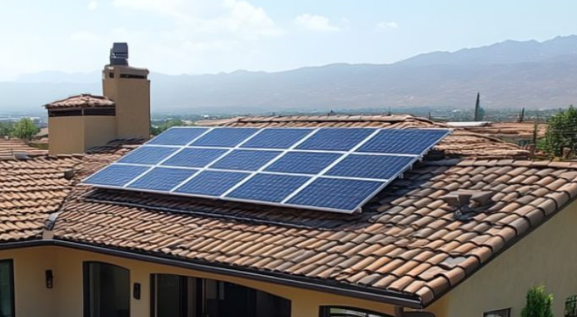
Installing solar panels on a tile roof requires precision, professional installation methods, and carefully selected mounting components. Compared with metal or asphalt roofs, tile roofs are more fragile, and improper installation may cause cracked tiles or water leakage. Huitai Photovoltaic has supported numerous tile roof solar projects across Europe and Asia, providing reliable and durable mounting solutions for different roof structures.
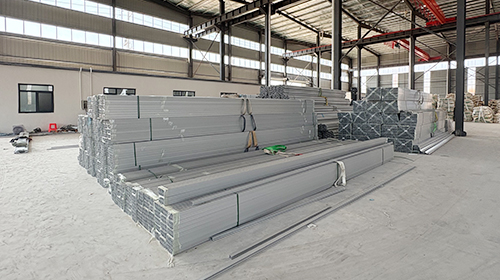
A tile roof solar mounting system consists of several key components designed to securely support solar panels while protecting the roof structure from water penetration and wind loads.
Each component should be selected carefully to ensure system safety, structural stability, and long-term reliability. Poor-quality or incompatible components may affect installation safety and overall system performance.
Tile roofs, including clay tiles, concrete tiles, and ceramic tiles, offer an attractive appearance but require specialized mounting systems due to their fragile structure. Standard mounting brackets designed for metal roofs are often unsuitable for tile roof installations.
Using improper mounting components may result in cracked tiles, poor alignment, structural instability, or roof leakage.
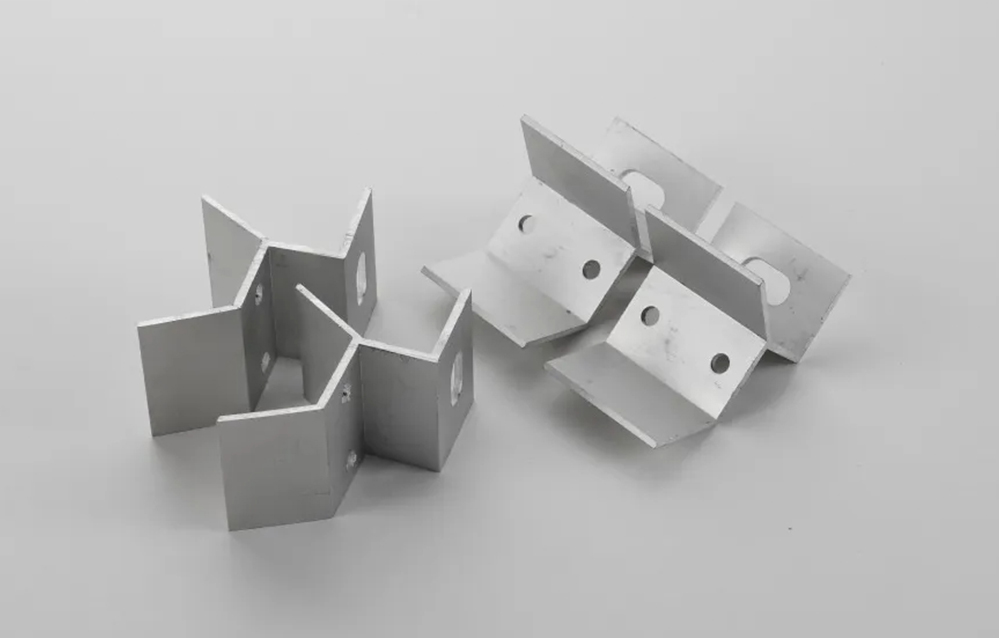
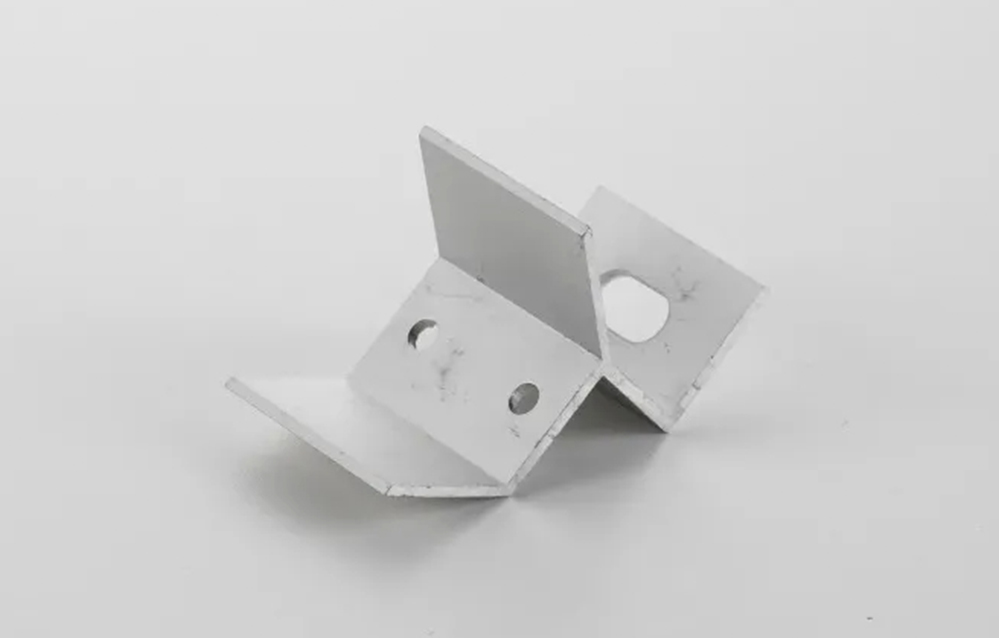
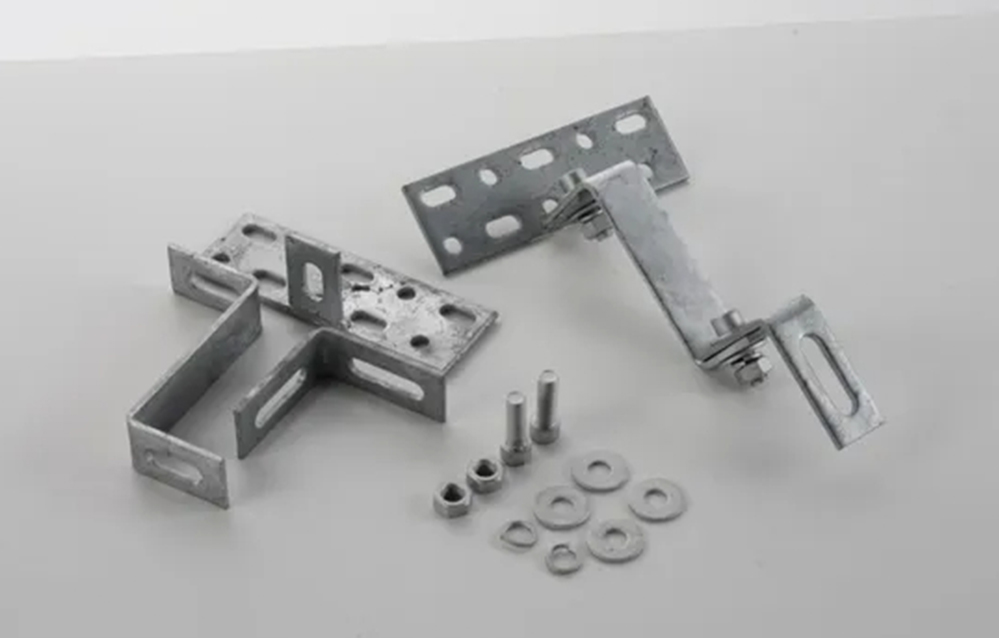
Tile roof hooks are one of the most important components in a tile roof solar mounting system. They provide the primary connection between the mounting structure and the roof rafters.
At Huitai Photovoltaic, several roof hook options are available to suit different installation requirements:
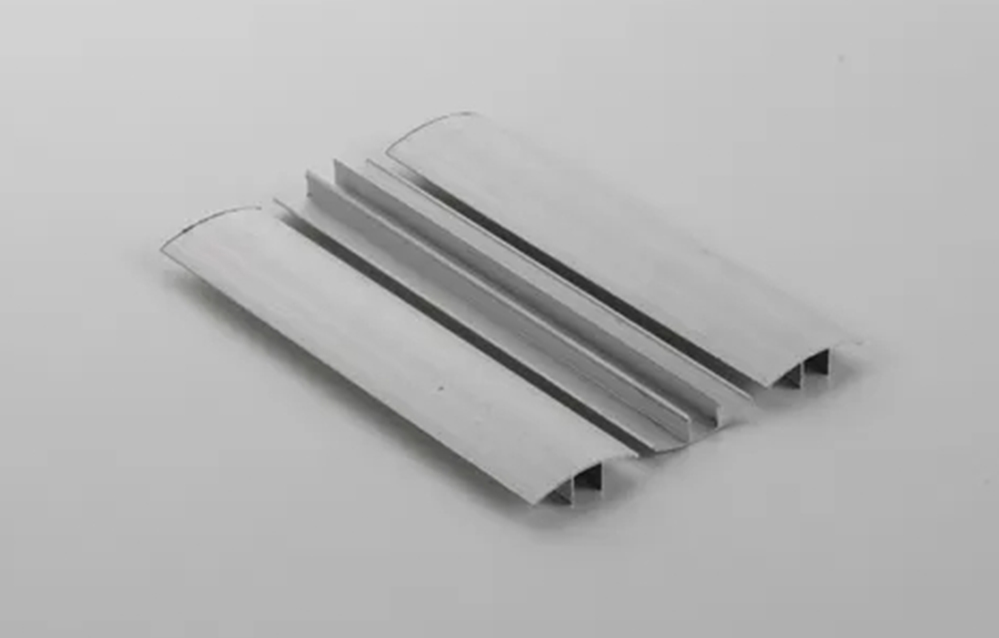
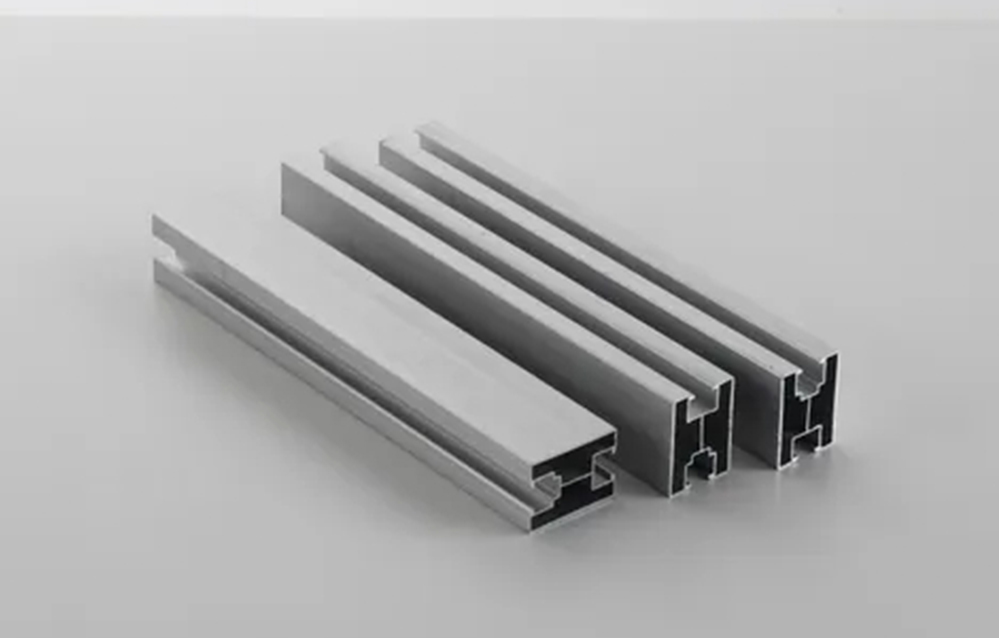
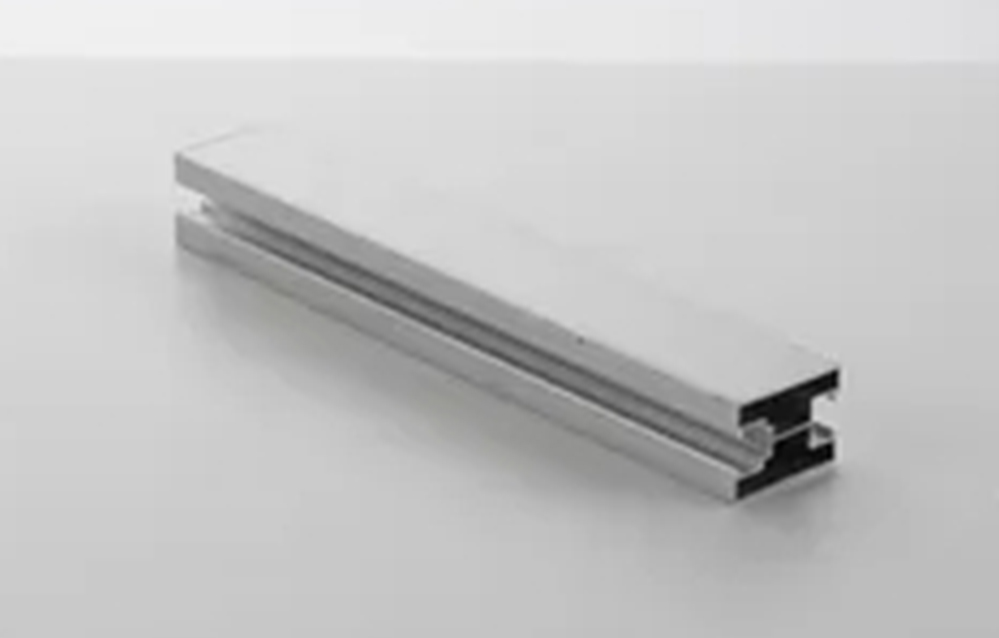
Mounting rails connect the roof hooks and support the solar panels, ensuring structural stability and proper panel alignment.
Key considerations include:
Clamps are used to securely fix solar panels onto the mounting rails.
Correct installation requires matching T-bolts or spring nuts with the rail slot system to ensure a stable and secure connection.
In Huitai Photovoltaic tile roof hook systems, each roof hook is equipped with a self-tapping screw and an integrated rubber washer to ensure reliable waterproof sealing at roof penetration points.
Proper grounding is essential for system safety and electrical protection:
Proper cable management improves both safety and system appearance:
Selection depends on tile type:
| Tile Type | Recommended Hook | Notes |
|---|---|---|
| Flat tile | Adjustable hook | Can compensate for height differences |
| Curved/S-type | Double-bent hook | Fits profile and prevents tile cracking |
| Thin/slate | Low-profile hook | Minimizes tile lifting |
Tip: Always secure hooks to rafters, not just battens, to ensure load-bearing capacity.
Preparation: Check rafter layout, gather safety equipment, and remove or lift tiles where roof hooks will be installed.
Mark and Drill: Locate rafter centers and mark positions with chalk, then drill pilot holes.
Install Hooks: Fix hooks with lag screws into rafters, ensuring correct alignment and height adjustment.
Replace and Seal Tiles: Reposition roof tiles and add EPDM pads or flashing to prevent water leakage.
Attach Rails: Align mounting rails onto hooks, secure with bolts, and check leveling.
Install Panels: Install solar panels using mid clamps and end clamps, ensuring torque meets specification requirements.
Grounding and Cable Routing: Install grounding clips and route cables neatly along the rails.
Final Inspection: Verify alignment, waterproofing, and proper torque of all fasteners.
Installing solar panels on a tile roof requires precision, proper components, and a systematic installation process. With Huitai Photovoltaic tile roof hooks, aluminum rails, clamps, and waterproof accessories, you can achieve a safe, durable, and professional-grade solar mounting system designed for long-term performance.
Hot Products
High Quality Metal Fabrication Clamps Solid Integral Stainless Steel Integrated Clamp A
Usage: Heavy Duty Clamp, Pipe Clamp, Glass Clamp
UV & Moisture Resistant Solar Panel Clamp with Custom Sizes
Customization: Available
Easy-Install Protective Cover Durable Rust-Proof Solar Panel Rail Cover for Rooftop/Ground PV Rails
Customization: Available
Custom Tailored Aluminum Solar Panels Rails for Rooftop/Ground PV Systems
Customization: Available
Hot-DIP Galvanized Bracket Weight Aluminum Rail for Hobby & Small Projects
Customization: Available
Heavy Duty Adjustable Stainless Steel Solar Roof Tile Hook for Residential PV Mounting Systems
Customization: Available